


How to Draw a Dog Portrait: Step-by-Step Instructions for Beginners
Do you love dogs? If so, you’re going to love this step-by-step guide on how to draw a dog portrait. In this tutorial, we will show you how to create an accurate and lifelike drawing of your favourite furry friend. We’ll walk you through each step of the process, from sketching out the basic outline to adding the finishing touches. So grab some paper and a pencil, and let’s get started!
Things Needed Before Drawing a Portrait of a Dog:
- A reference photo of the dog you want to draw. Try to find a photo that is well-lit and shows the dog’s features clearly.
- A sheet of paper. You can use any type of paper, but we recommend using Bristol board or another type of smooth, heavyweight paper.
- We recommend using graphite pencils in a range of hardness levels, from HB to H.
- A kneaded eraser is ideal for erasing pencil marks without damaging the paper.
- Pencil sharpener.
- Ruler or a straightedge. This will help you draw straight lines and create even proportions.
- Optional: Colored pencils, markers, or other drawing media. You can use these to add colour to your dog portrait once it is complete.

Step One: Sketching the Dog’s Head
The first step is to sketch out the basic shape of the dog’s head. Start by lightly drawing an oval or circle in the middle of your paper. This will be the dog’s head. Next, add two smaller ovals for the eyes. Then, draw a curved line beneath the eyes for the nose and another line below that for the mouth. Finally, add some lines inside the oval to indicate where the dog’s ears will go. Once you have sketched out the basic shape of the head, you can start to add some details.
Step Two: Adding Detail to the Dog’s Face
Now it’s time to start adding detail to the dog’s face. Begin by giving the eyes some definition by drawing small ovals within them. Then, add a curved line beneath each eye for the eyelids. Next, draw a small oval inside the nose to indicate the nostrils. Finally, add some definition to the mouth by drawing a curved line for the upper lip and a “W” shaped line for the lower lip.
Step Three: Drawing the Dog’s Ears
The next step is to draw the dog’s ears. Start by drawing two small triangles at the top of the head for the ear flaps. Then, draw a curved line from the bottom of each ear flap to the side of the head.
While drawing all of this, make sure that you are constantly referring back to your reference photo to ensure that you are getting the proportions and details correct.

Now add some lines inside the ears to indicate where the fur will be. Start with a curved line at the base of the ear, and then add a series of short, curved lines above that.
Step Four: Sketching the Dog’s Body
The next step is to sketch out the dog’s neck and body. Begin by drawing a curved line from the bottom of the head to where the neck will be. Then, add a small oval at the end of the neck for the dog’s chest. Next, draw a curved line from the chest to where the hind leg will be. Finally, add a small oval at the end of this line for the dog’s rump.
Step Five: Adding Detail to the Dog’s Neck and Body
Now it’s time to start adding detail to the dog’s neck and body. Begin by drawing a series of short, curved lines along the neck to indicate where the fur will be. Then, add some definition to the chest by drawing a curved line down the centre. Next, draw a series of short, curved lines along the hind leg to indicate where the fur will be. Finally, add some definition to the rump by drawing a curved line down the centre.
Step Six: Drawing the Dog’s Front Leg
The next step is to draw the dog’s front leg. Begin by drawing a curved line from the chest to where the leg will be. Then, add a small oval at the end of this line for the dog’s paw. Next, draw a curved line from the paw to where the toes will be. Finally, add small ovals at the end of this line for the dog’s toes.
Step Seven: Drawing the Dog’s Hind Leg
The next step is to draw the dog’s hind leg. Begin by drawing a curved line from the rump to where the leg will be. Then, add a small oval at the end of this line for the dog’s paw. Next, draw a curved line from the paw to where the toes will be. Finally, add small ovals at the end of this line for the dog’s toes.
Step Eight: Drawing the Dog’s Tail
The next step is to draw the dog’s tail. Begin by drawing a curved line from the rump to where the tail will be. Then, add a small oval at the end of this line for the dog’s paw. Next, draw a curved line from the paw to where the toes will be. Finally, add small ovals at the end of this line for the dog’s toes.

Step Nine: Adding the Final Details
The final step is to add the finishing touches to your drawing. Begin by giving the dog’s fur some definition with a series of short, curved lines. Then, add some shadows to the drawing by adding a few dark areas. Finally, add a light source by drawing a few rays of light.
And that’s it! You now know how to draw a dog portrait step-by-step. Practice this technique, and soon you’ll be able to draw any dog breed with ease.
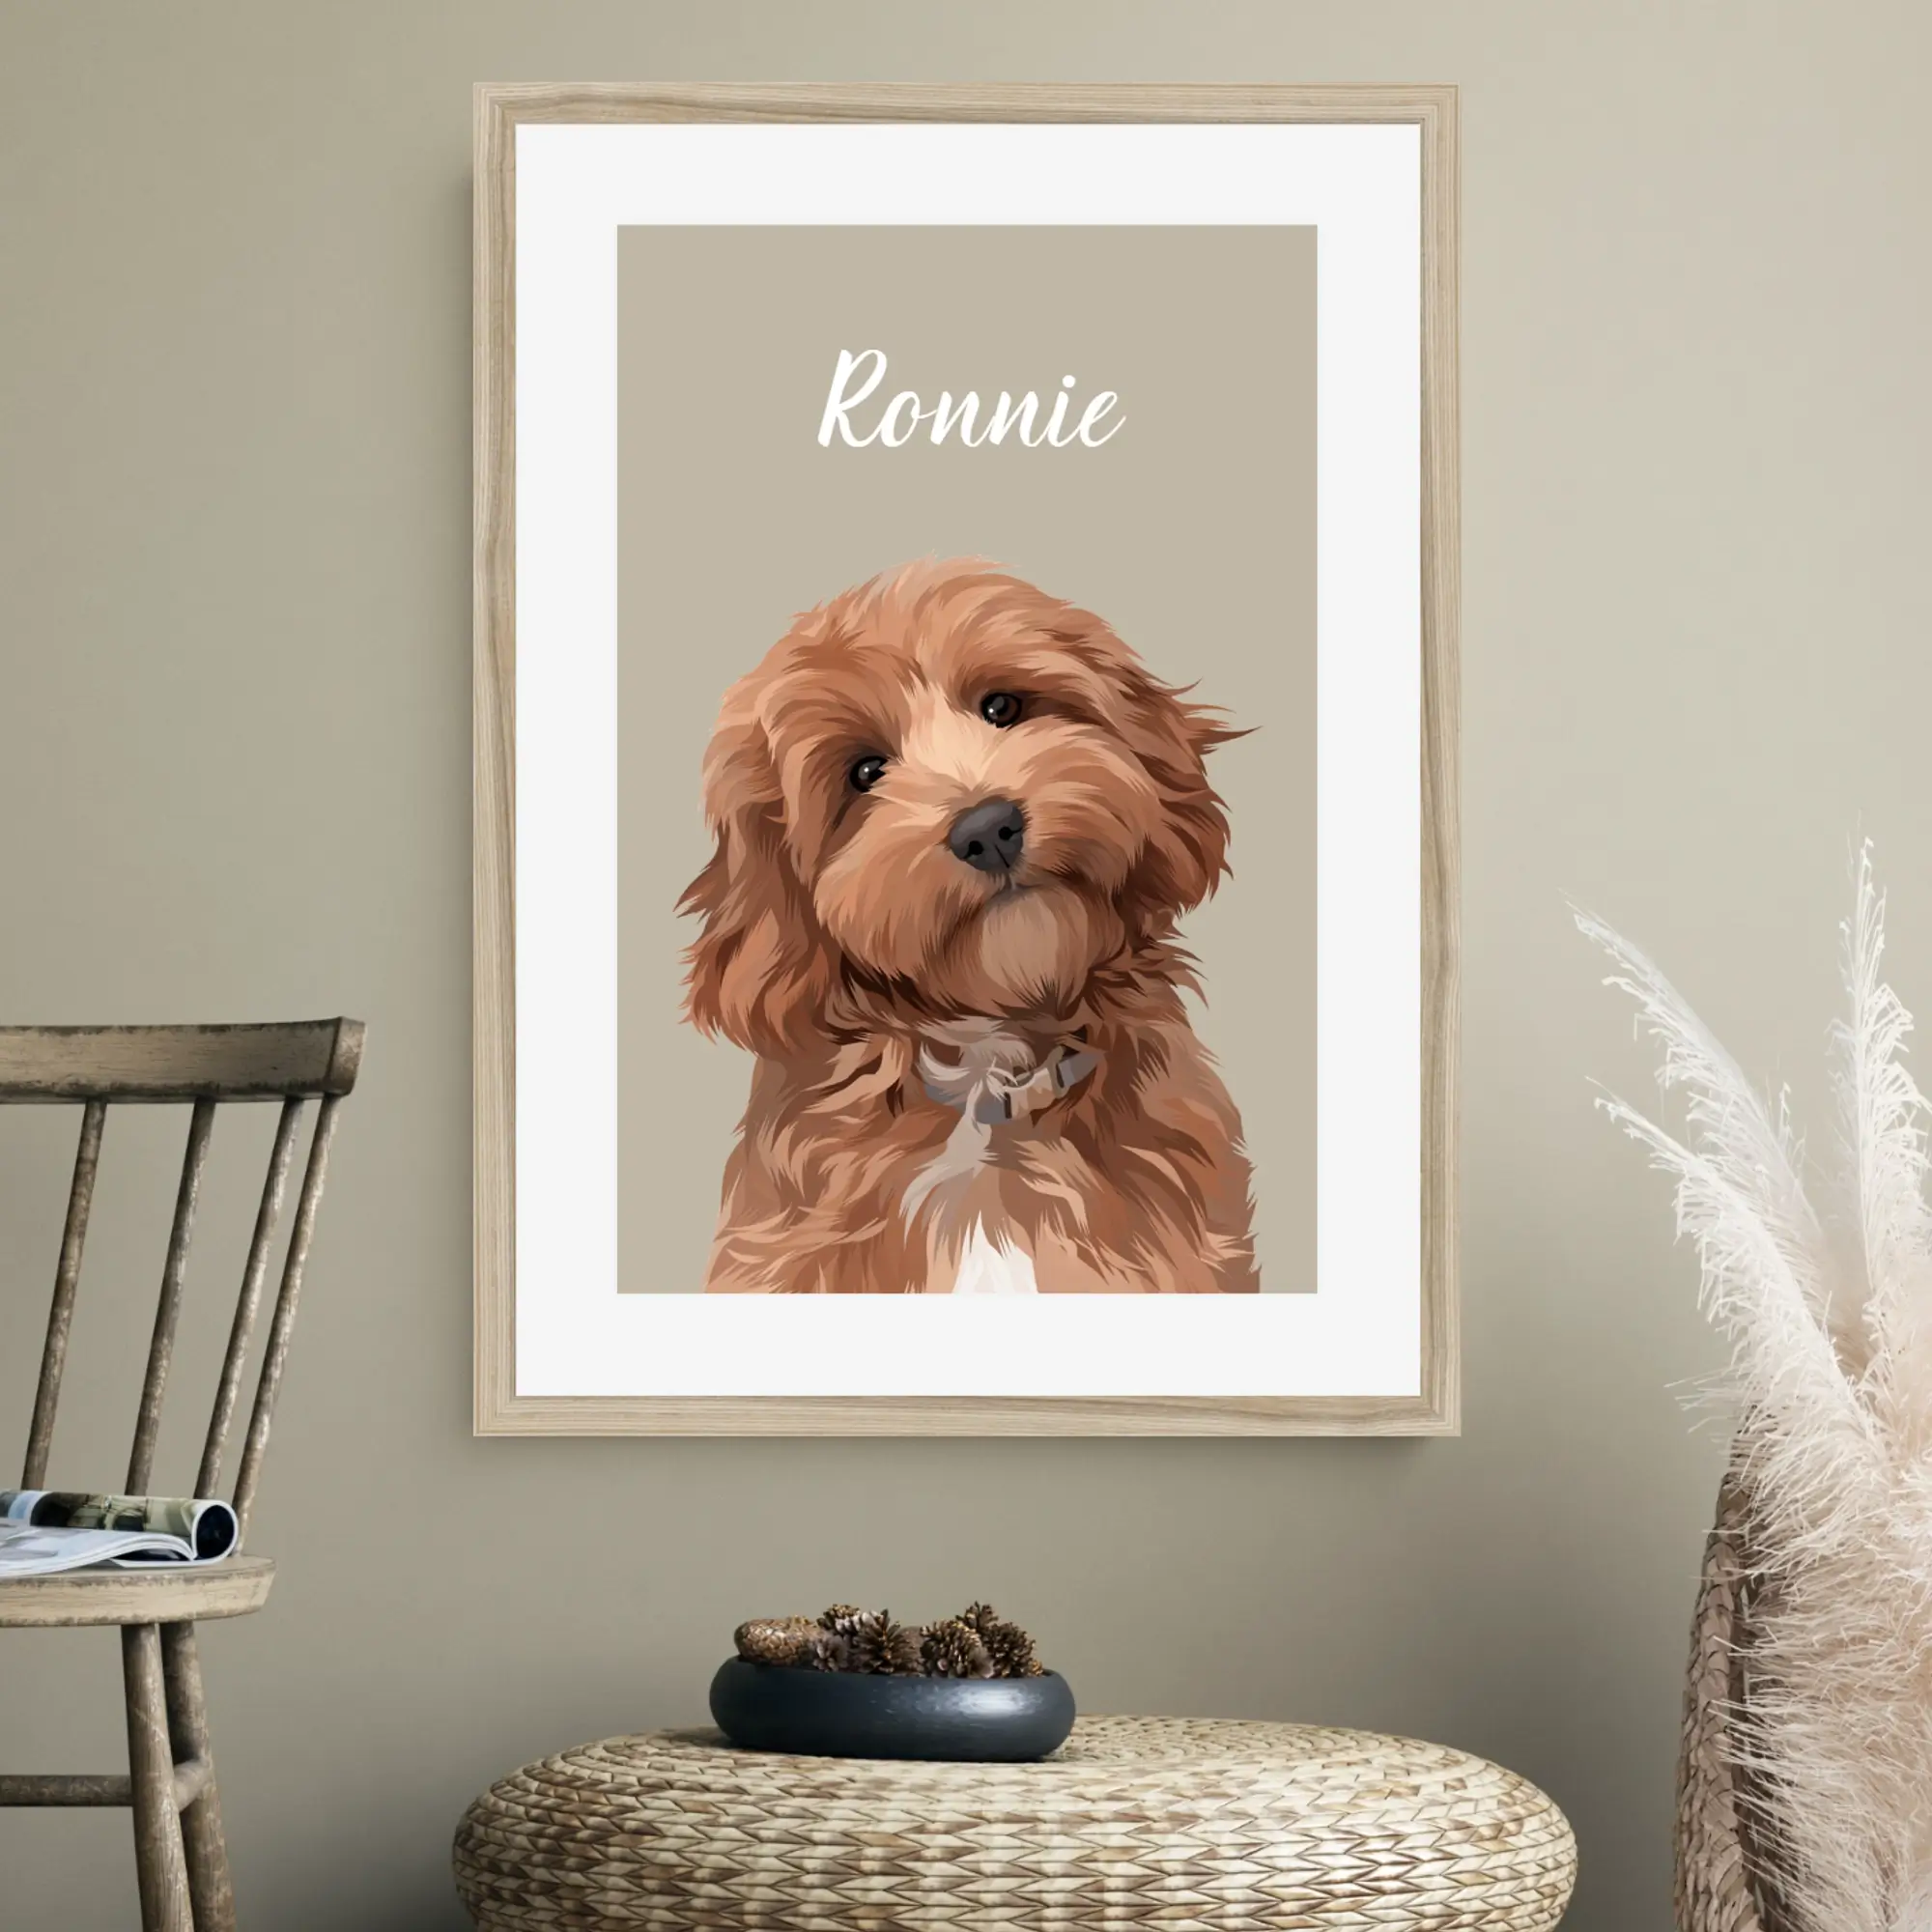
How To Avoid All The Trouble and Get Custom Made Portraits?
If you want to avoid all the troubles and save money on buying all the materials, you can get a custom-made dog portrait from an online store like VECPrints.com.
They will take all your requirements into account and deliver you a high-quality custom portrait that will make your dog look great!
You can either provide them with a photo of your dog or let them know what breed of dog you have, and they’ll find the perfect reference photo for you.
Once you receive the portrait, all you need to do is frame it and hang it up on your wall! Your dog will be the centre of attention in any room you choose to display his or her portrait in.