


How to Draw a House Portrait: Tips and Tricks
Making a portrait of your house can be a fun and interesting project. It can also be a bit challenging, but with these tips and tricks, you’ll be able to create a masterpiece! First, you’ll need to gather some supplies. Then, you’ll need to choose the right location for your photograph. After that, it’s time to start taking pictures! Finally, you’ll need to edit your photos and put them together into one final image. We’ll go over all of this in more detail below. Let’s get started!
Things You Need
Here is the list of things that you need in order to create a portrait of your house and save it for your memories.
1. A camera
You need a camera to take pictures of your house. A DSLR camera is ideal, but you can also use a point-and-shoot camera or even your smartphone.
2. A tripod
A tripod will help you keep your camera steady while you’re taking pictures. This is especially important if you’re using a long exposure.

3. Good lighting
Good lighting is essential for taking any kind of photograph. Make sure you have plenty of light, either from the sun or from artificial sources.
4. A computer
You’ll need a computer to edit your photos and create your final image to create a hand-drawn portrait
5. Pencils and paper
You’ll need these for sketching out your composition before you start taking pictures.
6. Eraser
An eraser will come in handy if you make any mistakes while sketching.
7. Colour pencils or markers
You’ll need these to add colour to your final image.

How To Draw A House Portrait? Step by Step Guide
Now that you have all the supplies that you need, it’s time to start taking pictures! But before you start snapping away, there are a few things you need to keep in mind.
Step 1: Choose The Right Location
First, you need to choose the right location for your photograph. Ideally, you should find a spot where you can get a good view of the front of your house. If you can’t find a good spot, don’t worry – you can always take multiple pictures from different angles and then stitch them together later.
Once you’ve found the perfect location, it’s time to start taking pictures! If you’re using a DSLR camera, we recommend using a tripod to keep your camera steady. If you don’t have a tripod, try to find something else that you can use to prop up your camera. For example, you can use a stack of books or a chair.
Step 2: Take Plenty of Pictures
Now that your camera is all set up, it’s time to start taking pictures! Try to take a variety of pictures, both close-ups and wide shots. It’s also a good idea to take pictures from different angles. This way, you’ll have plenty of options to choose from when you’re editing your photos later.
Once you’ve taken enough pictures, it’s time to move on to the next step: editing!
Step 3: Edit Your Photos
To edit your photos, you’ll need to use a computer. If you’re not sure how to do this, don’t worry – there are plenty of tutorials online that can help you out. Start by choosing the best photos that you took. From there, you can crop them, resize them, and make other adjustments as needed.

Step 4: Choose the Best Among Them
After you have edited all your photos, it is time to decide which one will be the best for your house portrait. Keep in mind that you can always stitch together multiple photos to create one final image.
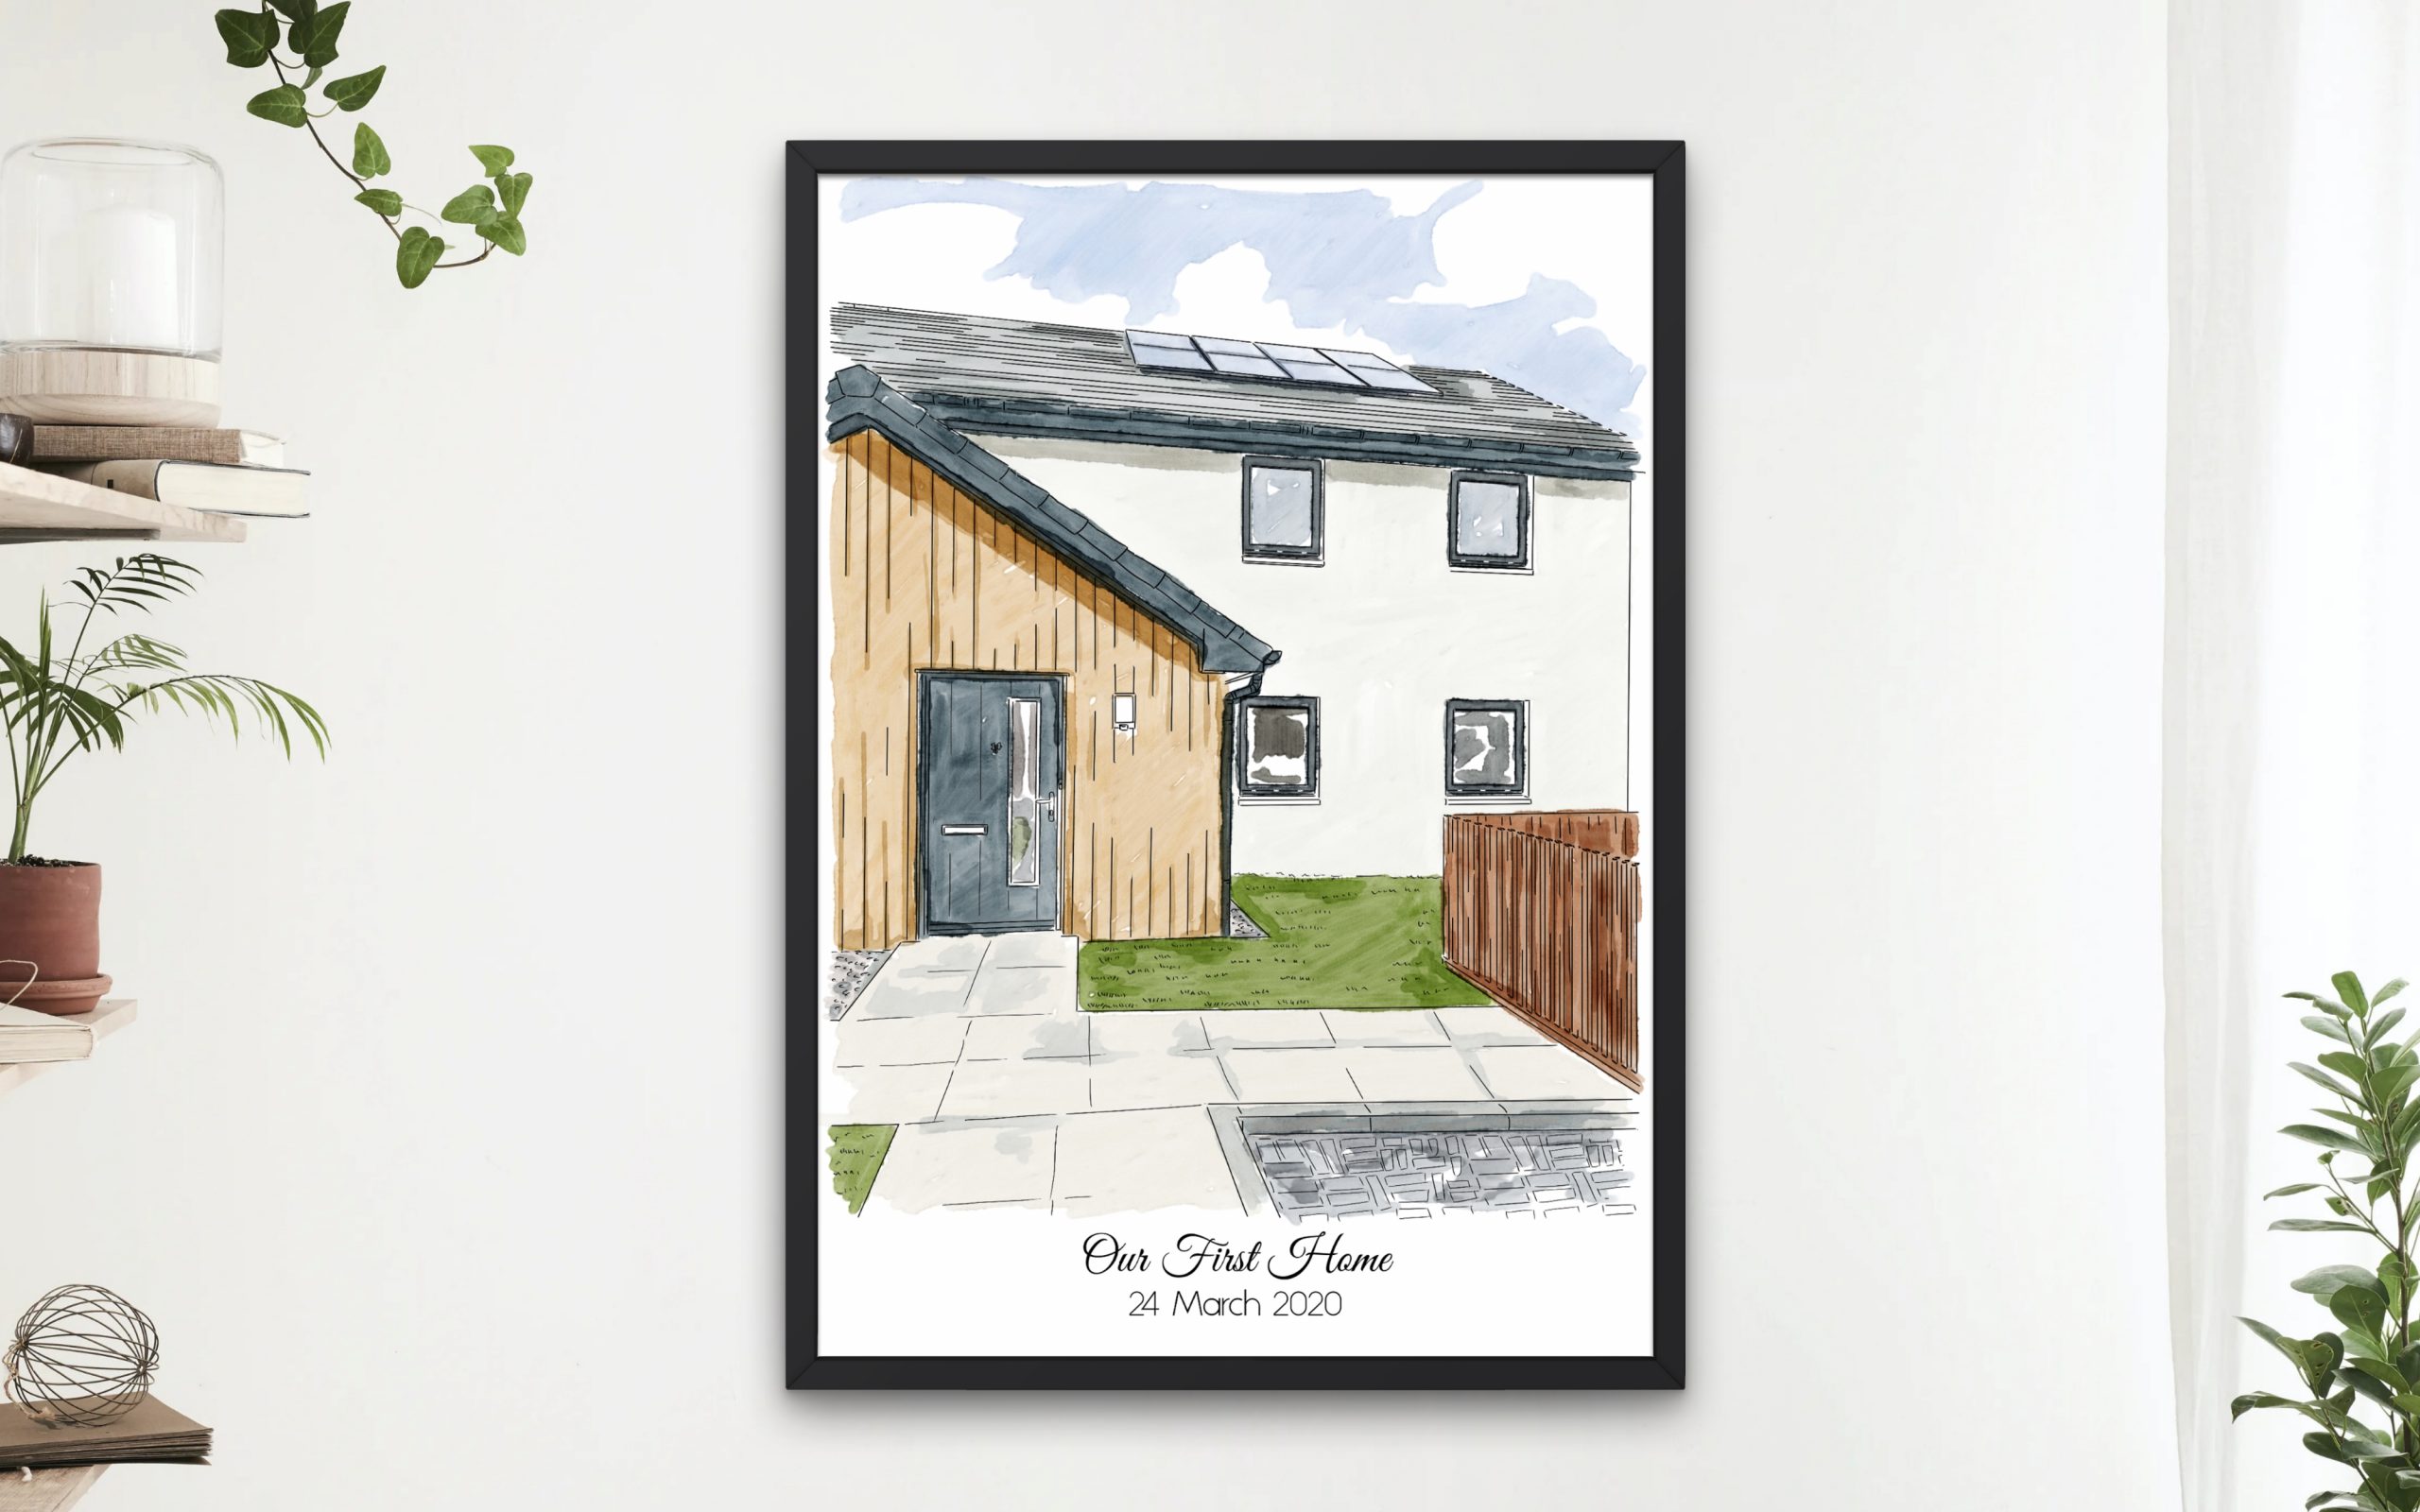
Step 5: Sketch Your House’s Structure
Now that you have your photo, it’s time to start sketching! If you’re not sure how to do this, don’t worry – there are plenty of tutorials online that can help you out. Start by sketching the outline of your house. Then, add in any details that you want, such as windows, doors, and chimneys.
Step 6: Add Colours
Now that you have your sketch, it’s time to start adding colour! You can use pencils, markers, or any other type of colouring tool that you like. Start by adding a base colour to your house. Then, add in any details that you want, such as shutters or landscaping.
Things To Keep In Mind
When you’re drawing a house portrait, there are a few things you’ll want to keep in mind. First, take note of the orientation of the house – is it facing towards the street or away from it? This can affect the way you draw the windows and doors. Second, pay attention to the details – what kind of trim does the house have, and how are the shingles arranged? These details can make a big difference in the overall look of your portrait.
Finally, don’t forget to add some personal touches to your drawing. A few well-placed trees or flowers can really bring it to life. And if you include people in your portrait, make sure to capture their personalities in your drawing. With a little practice, you’ll be able to create beautiful house portraits that your friends and family will cherish for years to come.
How To Have A Perfect House Portrait?
If you’re looking for a beautiful and accurate portrait of your home, look no further than VECprints.com. Our team of talented artists can create a custom portrait of your house that is true to life. We’ll work with you to capture all the details of your house – from the orientation to the trim to the colour of the shingles. And we can even include people and pets in your portrait if you wish. So what are you waiting for? Order your house portrait today!
Creating a perfect house portrait doesn’t have to be difficult. Just follow these tips from the experts at VECprints.com, and you’ll be well on your way to creating a beautiful piece of art that you’ll be proud to display in your home.