


How to Embroider a Pet Portrait: A Step-by-Step Guide
Do you love your pet? Why not commemorate your bond by embroidering a portrait of them? It’s easier than you might think, and the results are absolutely adorable. In this step-by-step guide, we will show you how to create an embroidered pet portrait that is sure to bring a smile to your face every time you look at it. Let’s get started!
Equipment You Need
Here are the details of the equipment you need.
1. Embroidery hoop
You need an embroidery hoop to keep your fabric taut while you work. Otherwise, your stitches will be uneven, and the final product will look sloppy.
There are two types of hoops: inner hoops and outer hoops. The former is made of plastic or metal, and the latter is usually wooden. Both types work well, so it’s really a matter of personal preference.
If you’re going to be doing a lot of embroideries, we recommend investing in a good quality hoop. Cheap hoops have a tendency to warp, which will make your stitches uneven.
2. A piece of fabric
The type of fabric you use is up to you. We recommend using cotton fabric because it’s easy to work with and doesn’t fray as easily as other types of fabrics.

If you want your pet’s portrait to be a certain size, make sure to cut your fabric accordingly. You can always trim it down later if need be.
3. Embroidery floss
Embroidery floss comes in a wide variety of colours, so you can pick and choose which ones you want to use for your portrait.
We recommend using six-strand embroidery floss because it’s easy to work with and doesn’t tangle as easily as other types of floss.
You’ll also need a needle. Make sure to get a needle that is the right size for your fabric. If you’re not sure, ask a salesperson at your local craft store.
4. Scissors
You’ll need a pair of scissors to cut your fabric and embroidery floss. We recommend getting a small pair of sharp scissors that can easily fit into the palm of your hand.
5. Needle threader (optional)
If you find it difficult to thread your needle, you can use a needle threader. This will make the process a lot easier and less frustrating.
6. Reference Picture:
You’ll need a reference picture of your pet to work from. If you don’t have a recent photo, now is the time to take one!
Make sure the picture is in focus and that your pet is facing the camera. It’s also a good idea to print out the picture, so it’s easier to see while you’re working.
If you don’t have a printer, you can always trace the outline of your pet onto the fabric. Just make sure to use a light-coloured pencil, so the lines don’t show up too much.

Now that you have all your supplies let’s get started!
Step One: Preparing Your Fabric
The first step is to prepare your fabric. If you’re using a new piece of fabric, make sure to wash and iron it before you start working. This will remove any impurities and make it easier to work with.
If you’re using an old piece of fabric, make sure to clean it thoroughly. You don’t want any dirt or dust ruining your final product!
Once your fabric is clean, place it in your embroidery hoop. Make sure the fabric is tight, so it doesn’t move around while you’re working.
Step Two: Tracing Your Picture
The next step is to trace your reference picture onto the fabric. If you’re using a printed picture, simply place it under the fabric and trace around the outline with a light-coloured pencil.
If you’re using an online picture, you can either print it out or trace it onto the fabric directly. Just make sure to use a light-coloured pencil, so the lines don’t show up too much.
Once you’re happy with your tracing, it’s time to start stitching!
Step Three: Starting to Stitch
The first step is to thread your needle with the embroidery floss of your choice. If you’re using multiple colours, make sure to knot the end of each colour, so it doesn’t come undone while you’re working.
Once your needle is threaded, you can start stitching! If you’re not sure where to start, we recommend beginning at the top of your pet’s head.
To make a basic stitch, simply insert the needle into the fabric and pull it through. Then, insert the needle into the fabric again a few millimetres away and pull it through. Repeat this process until you’ve reached the end of your line.
Step Four: Adding Details
Now that you’ve completed the outline of your pet’s portrait, it’s time to add some details! If you want to add shading, start by picking a light colour and a dark colour.
To add shading, start by making small stitches with a light colour. Then, make slightly larger stitches with a dark colour. Repeat this process until you’re happy with the shading.

You can also add details like whiskers, nose, and eyes by using small stitches of different colours. Be creative and have fun!
Step Five: Finishing Up
Once you’re happy with your pet’s portrait, it’s time to finish up! Cut off any excess thread and knot the end. Then, remove the fabric from the embroidery hoop and admire your handiwork!
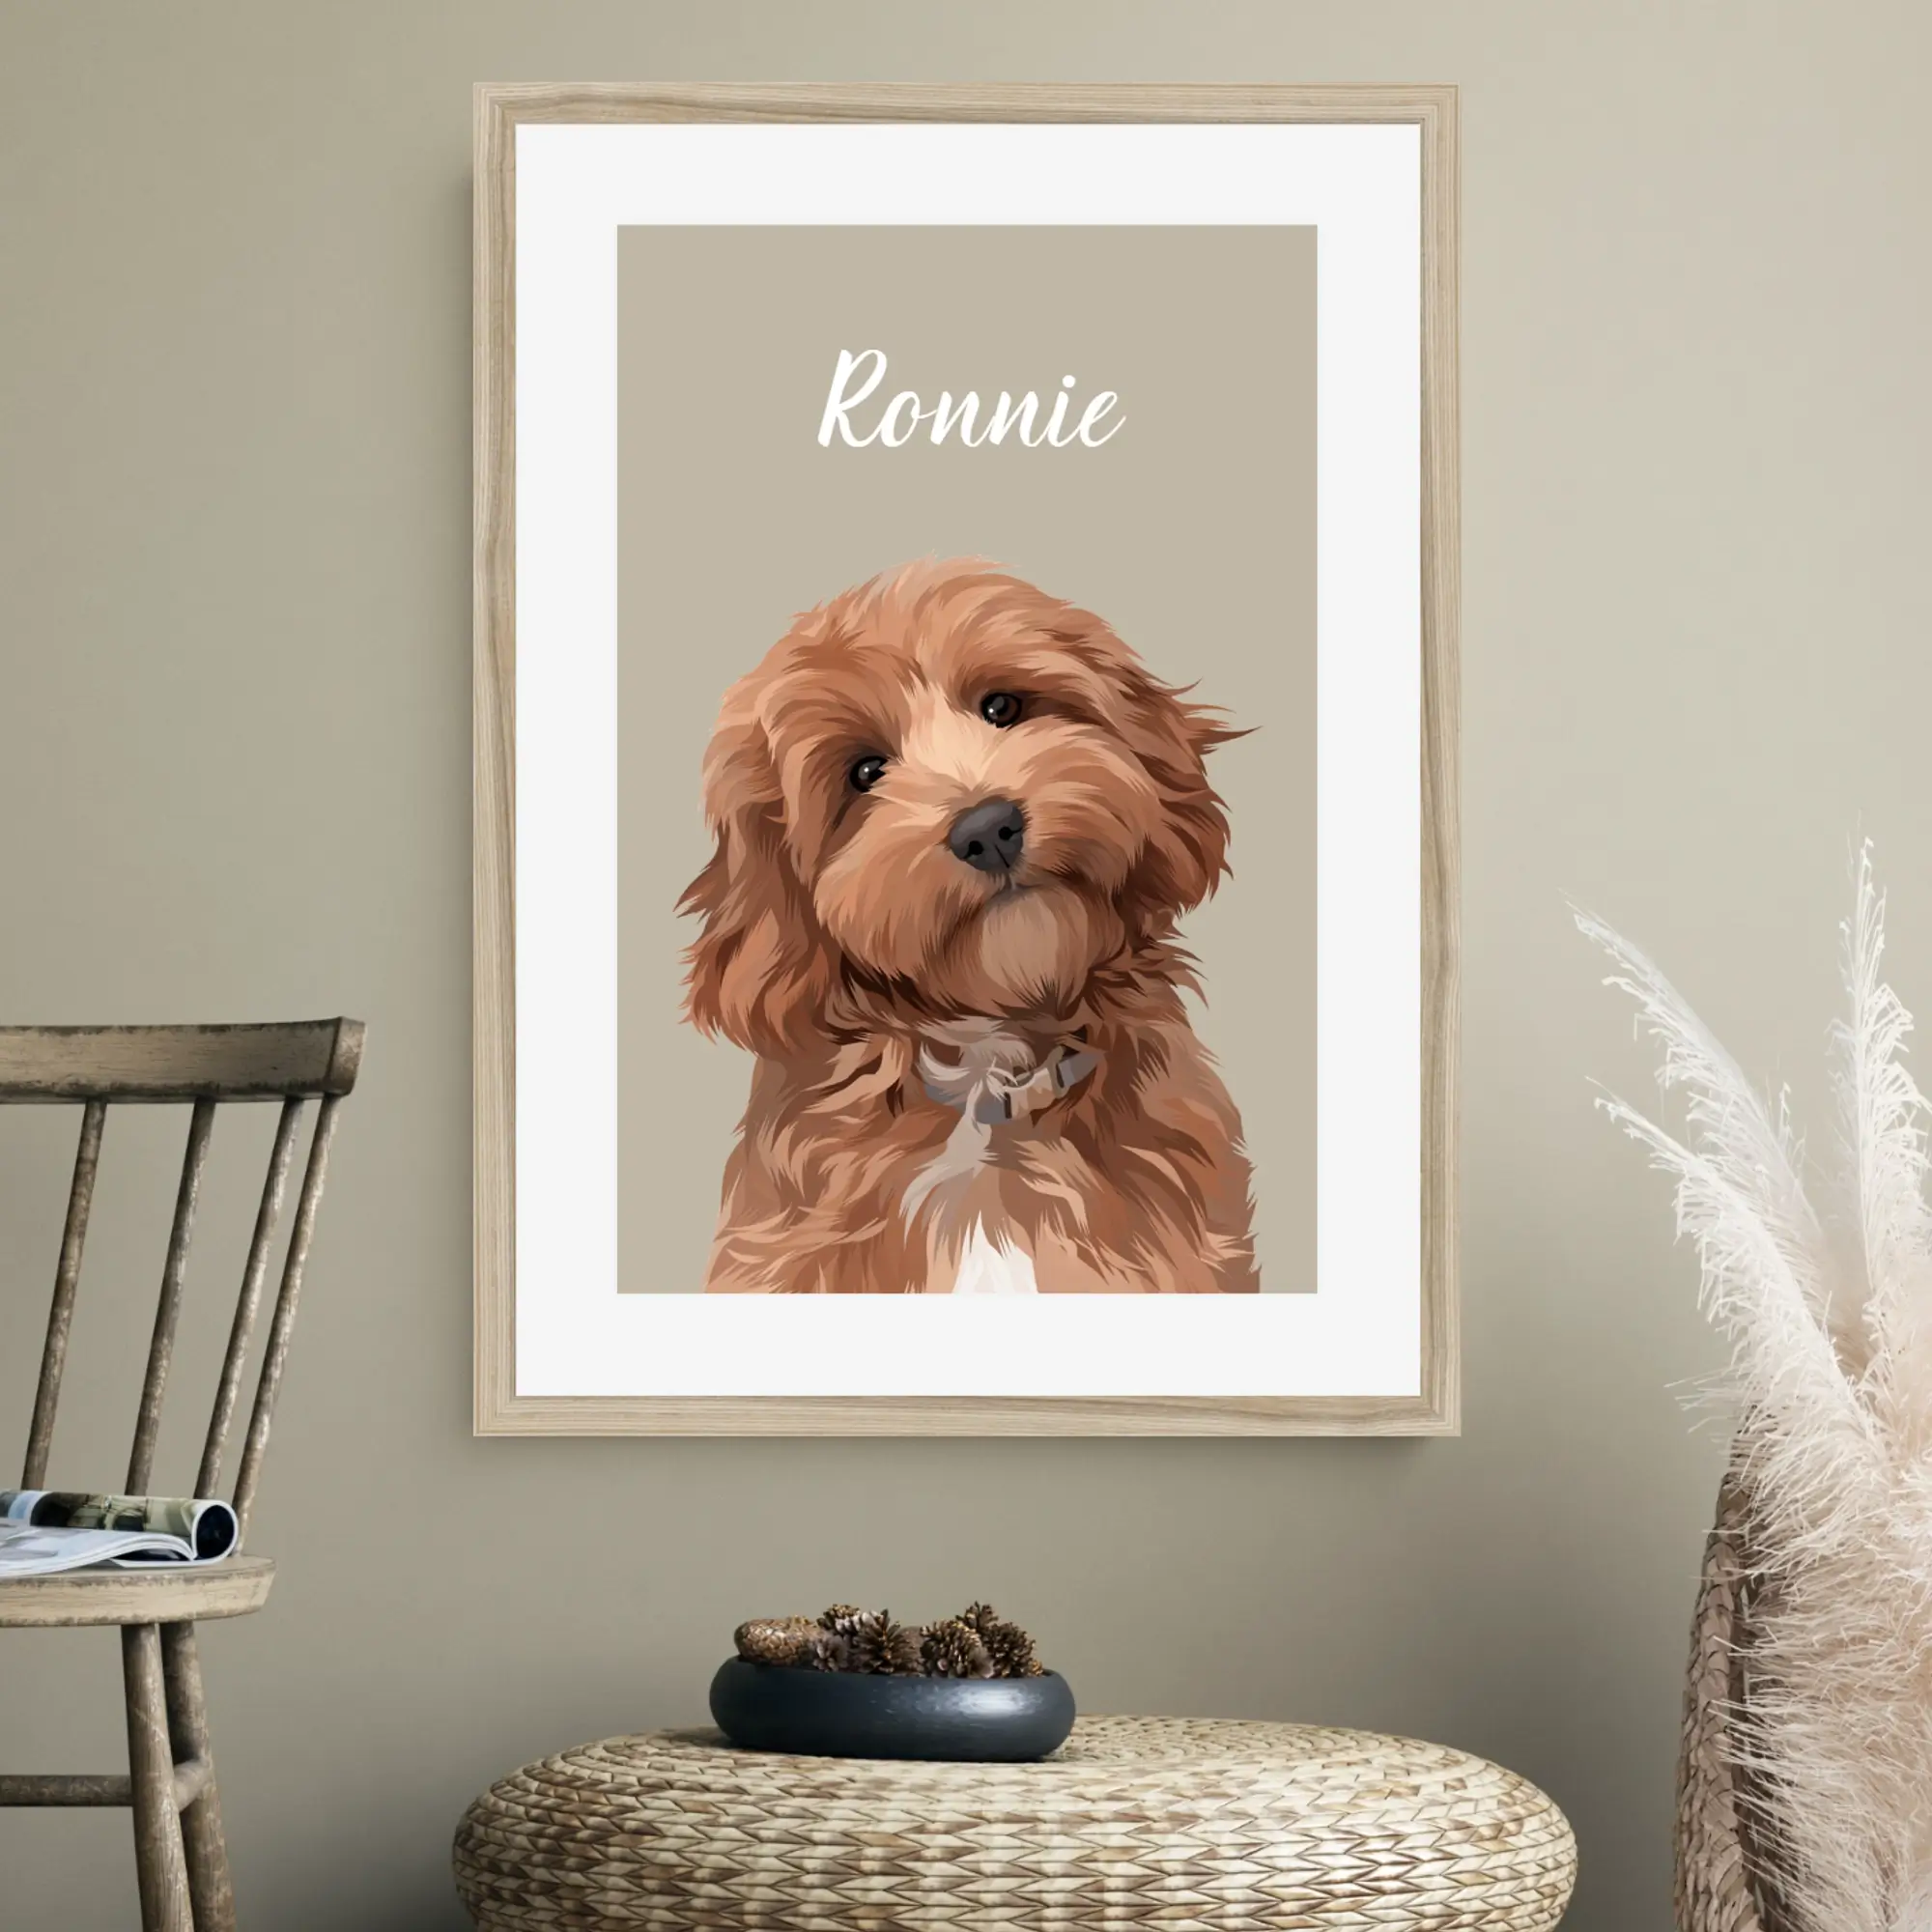
Best Way To Get Embroidered Pet Portrait
The best way to save money and time is to get your pet’s portrait embroidered online. VECPrints.com offers high-quality embroidery services at an affordable price. Plus, you don’t have to leave the comfort of your own home!
We also offer the creation of pet portraits and paintings from photos. We can turn any picture of your pet into a beautiful work of art that you can cherish for years to come.
Don’t wait any longer; head over to VECPrints.com and get started on your custom pet portrait today!
The Bottom Line
Embroidering a pet portrait is a great way to show your love for your furry friend. Plus, it’s a fun and challenging project that you can complete in your spare time.
Follow the steps outlined in this article, and you’ll be on your way to creating a beautiful embroidered portrait of your pet in no time!
And if you do not have much time to do it yourself and want to save money as well, then you can always order it online from a reliable source like VECPrints.com.