


How to Paint a Dog Portrait: Tips and Tricks from the Pros
Do you love dogs? Do you love to paint? If so, this blog post is for you! In today’s post, we will be discussing how to paint a dog portrait like a pro. We will go over the basics of painting dogs, including their fur, their eyes, and their expressions. We will also provide tips and tricks for making your paintings look as realistic as possible. So whether you’re a beginner or an experienced artist, this post has something for you!
What Things do You Need?
Before we get started, let’s go over the supplies you will need for this project. For this project, you will need:
1. A canvas or a piece of paper:
A canvas or a piece of paper is the first thing you will need for this project. You can either use a canvas that is pre-stretched, or you can stretch your own canvas. If you are using a canvas, make sure it is primed and ready to go before you start painting.

2. Paints (acrylic or oil paints are best)
The next thing you will need is paint. You can use either acrylic or oil paints for this project. If you are a beginner, we recommend using acrylic paint because it is easier to work with. However, if you are more experienced, you may prefer to use oil paint.
No matter what type of paint you decide to use, make sure you have good quality paint. This will make a big difference in the final results of your painting.
3. Brushes (a variety of sizes)
Next, you will need brushes. You will need a variety of sizes, depending on the type of painting you want to do. If you are doing a detailed painting, you will need smaller brushes. If you are doing a more abstract painting, you will need larger brushes.
You can either use natural or synthetic brushes. Natural brushes are made from animal hair, while synthetic brushes are made from nylon or other synthetic materials. If you are a beginner, we recommend using synthetic brushes because they are easier to use.
4. A reference photo
Now that we have gone over the supplies you will need, let’s talk about reference photos. A reference photo is a photo that you will use as a guide when painting your dog portrait. It is important to choose a good reference photo because it will make your life much easier when painting.
Try to find a photo that has good lighting and is in focus. Avoid using photos that are blurry or have too much contrast. Once you have found a good reference photo, print it out or save it on your computer so you can refer to it while you are painting.

Now that we have gone over the supplies and reference photos let’s get started!
Step One – Pick Your Paints
The first step is to pick your paints. As we mentioned before, you can use either acrylic or oil paints for this project. If you are a beginner, we recommend using acrylic paint because it is easier to work with.
Once you have chosen your paint, it’s time to start mixing colours. For this painting, you will need to mix a variety of colours, including white, black, and a variety of greys. You can either mix your own colours, or you can purchase pre-mixed colours.
If you are mixing your own colours, start by adding a small amount of white paint to your palette. Then, add a touch of black paint until you have the desired shade of grey. Once you have the perfect shade of grey, it’s time to start painting!
Step Two – Paint the Background
Now that you have your paint mixed and your brushes ready, it’s time to start painting! The first step is to paint the background. For this project, we recommend using a light grey or white colour.
Start by painting a light layer of grey or white over the entire canvas. Then, once the first layer is dry, add another layer of colour. Continue adding layers until you are happy with the results.
Remember, when painting the background, it’s important to keep your brushstrokes light and airy. This will help create a sense of depth in your painting.
Step Three – Paint the Dog
Now that the background is complete, it’s time to start painting the dog. The first step is to sketch out the basic shape of the dog with a pencil. Once you have the basic shape sketched out, you can start painting.
Start by painting the head and face of the dog. Then, work your way down the body, painting the legs, belly, and tail. Once you have the basic shape of the dog painted, you can start adding details.

To paint the details, you will need to use a smaller brush. Start by painting the eyes and nose. Then, add any other details that you want, such as fur or whiskers.
Once you are happy with the results, your dog portrait is complete!
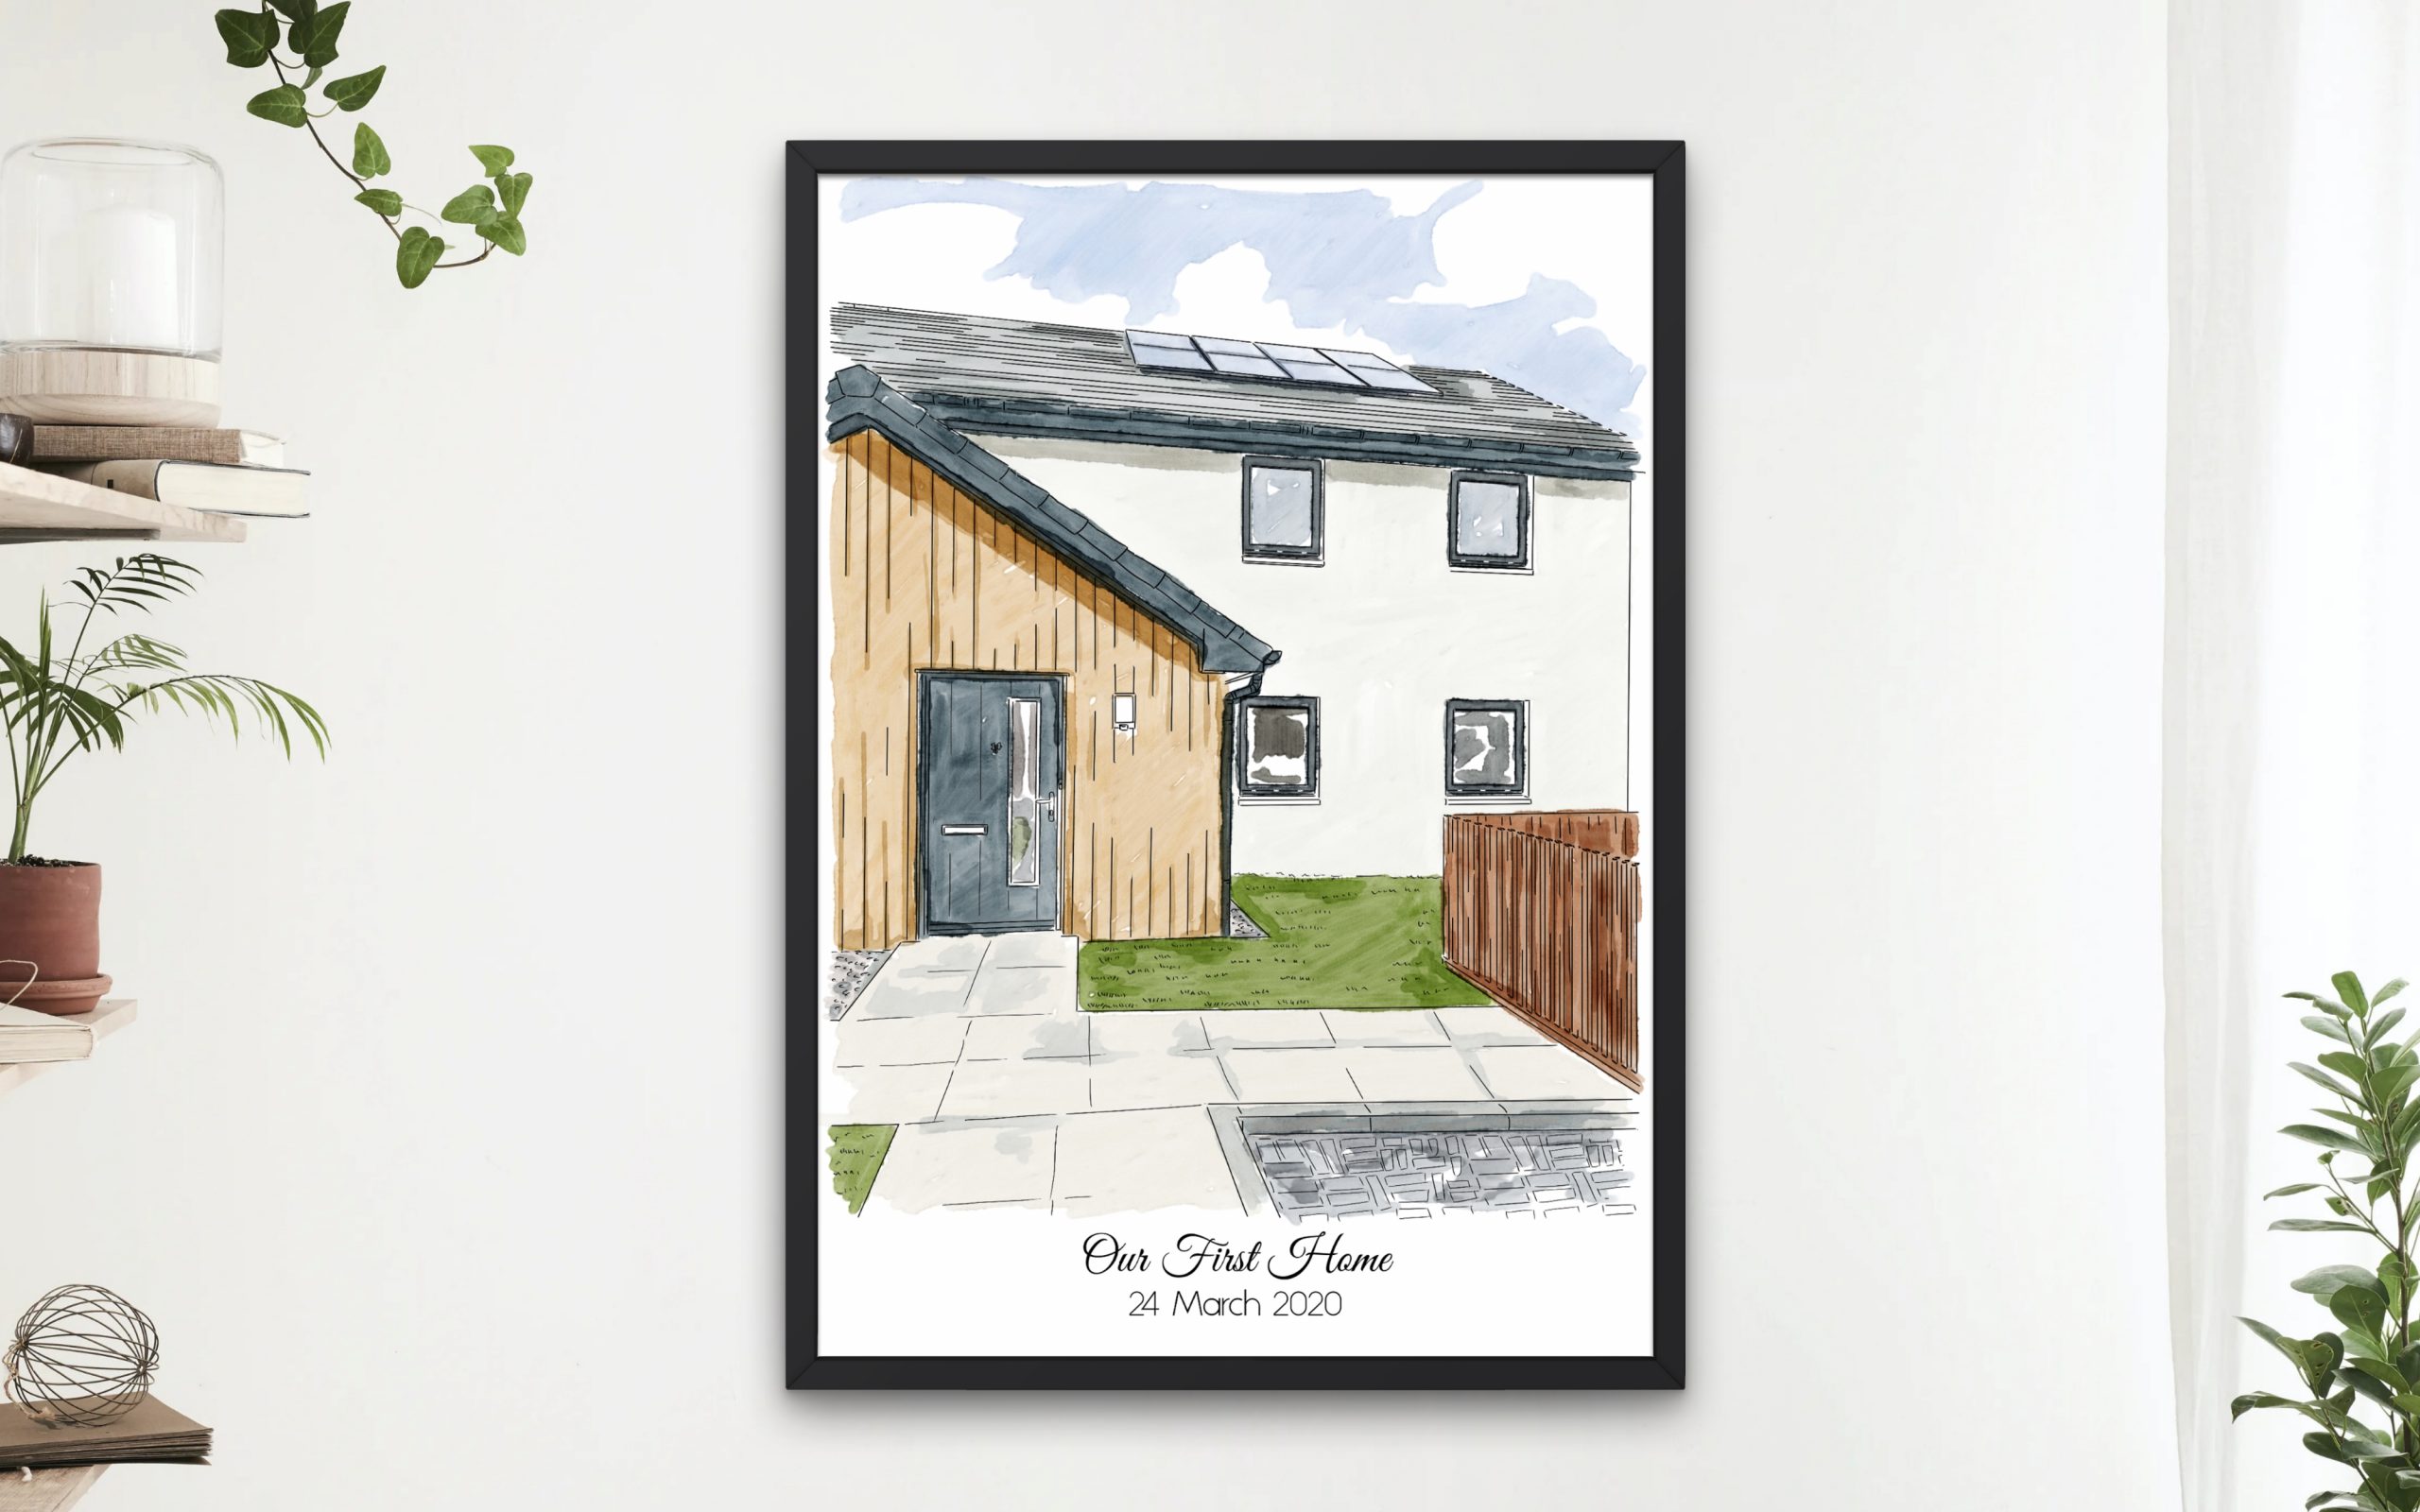
How To Get It Done Without Much Trouble and In Less Cost?
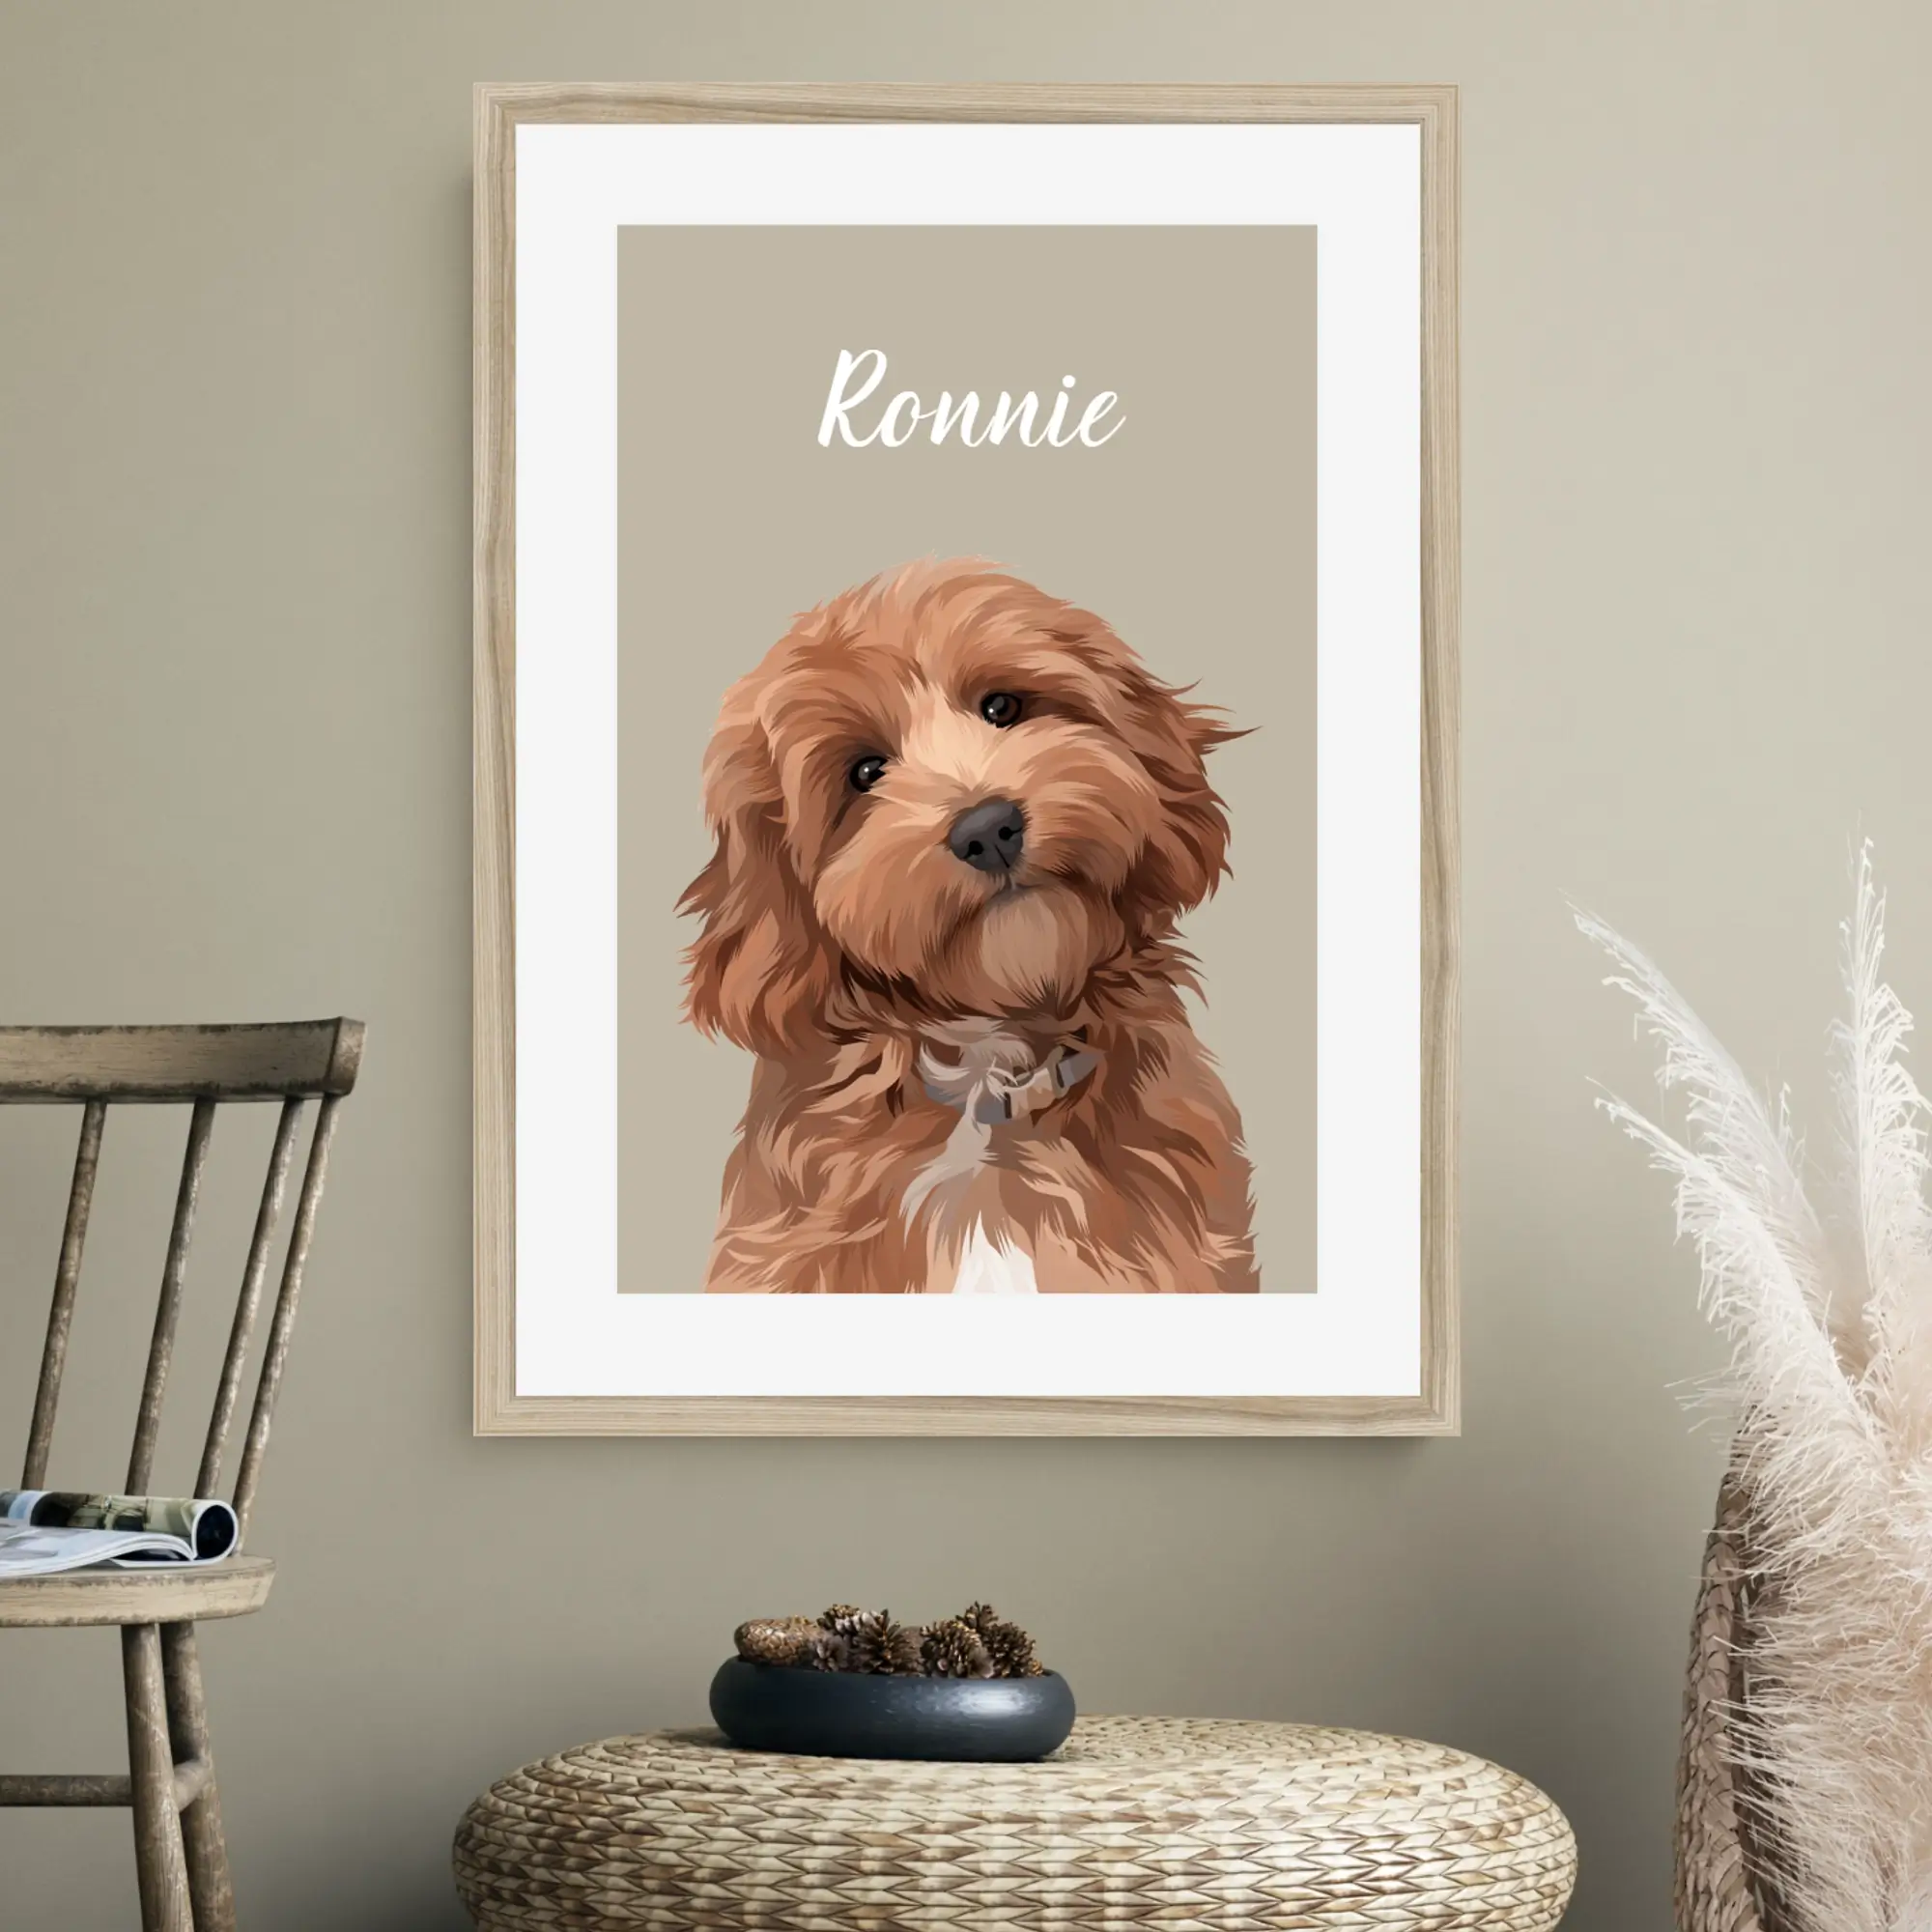
If you want to avoid all the troubles and want to save your money, then all you need to do is get in touch with a company that will provide you with the services of pet portraits from photos. All you need is to send them a high-quality photo of your dog, and they will turn it into an oil painting or any other type of painting that you desire. This way, you will be able to get your hands on a beautiful portrait without having to put in any effort or spend any money.
If you are looking for a company that provides pet portraits from photos, we recommend using VECPrints.com. VECPrints is a company that specializes in creating high-quality prints and paintings from photos. They have a wide range of products to choose from, including oil paintings, portraits and simple coloured paintings.
The Bottom Line
Pets are a huge part of our lives, and we want to keep them with us forever. A great way to do this is to get a portrait of your pet. But, if you don’t know how to paint, it can be a daunting task. Luckily, we’ve got you covered! In this blog post, we’ve gone over everything you need to know about how to paint a dog portrait, from choosing the right supplies to adding the finishing touches. So, what are you waiting for? Get painting!